Getting Started (beta)
info
Due to the large interest in the Cloud beta, we've added a few constraints to ensure a smooth experience for all users:
- 3 chatbots max per developer account
- Cloud-native chatbots only, i.e., bots created on Botpress v12.27.0-beta and later. Existing chatbots should not be ported to the Cloud Beta due to differences in the Cloud SDK.
- English language only chatbots
- Small-to-moderate-sized chatbots only. Chatbots with an excess number of intents, flows, actions, etc., will get an error message on the beta."
Introduction
Botpress Cloud is the only open-source chatbot deployment solution on the cloud and provides an easy one-click deployment feature. Our new platform will rapidly reduce the time and money spent on typical chatbot deployments. Plus, it’s entirely open-source, giving developers complete flexibility and zero vendor lock-in.
info
For more info about the pitch you can go here
Instruction
note
Prefer a video ?
This video include all the step from this tutorial.
Create an account on the botpress cloud
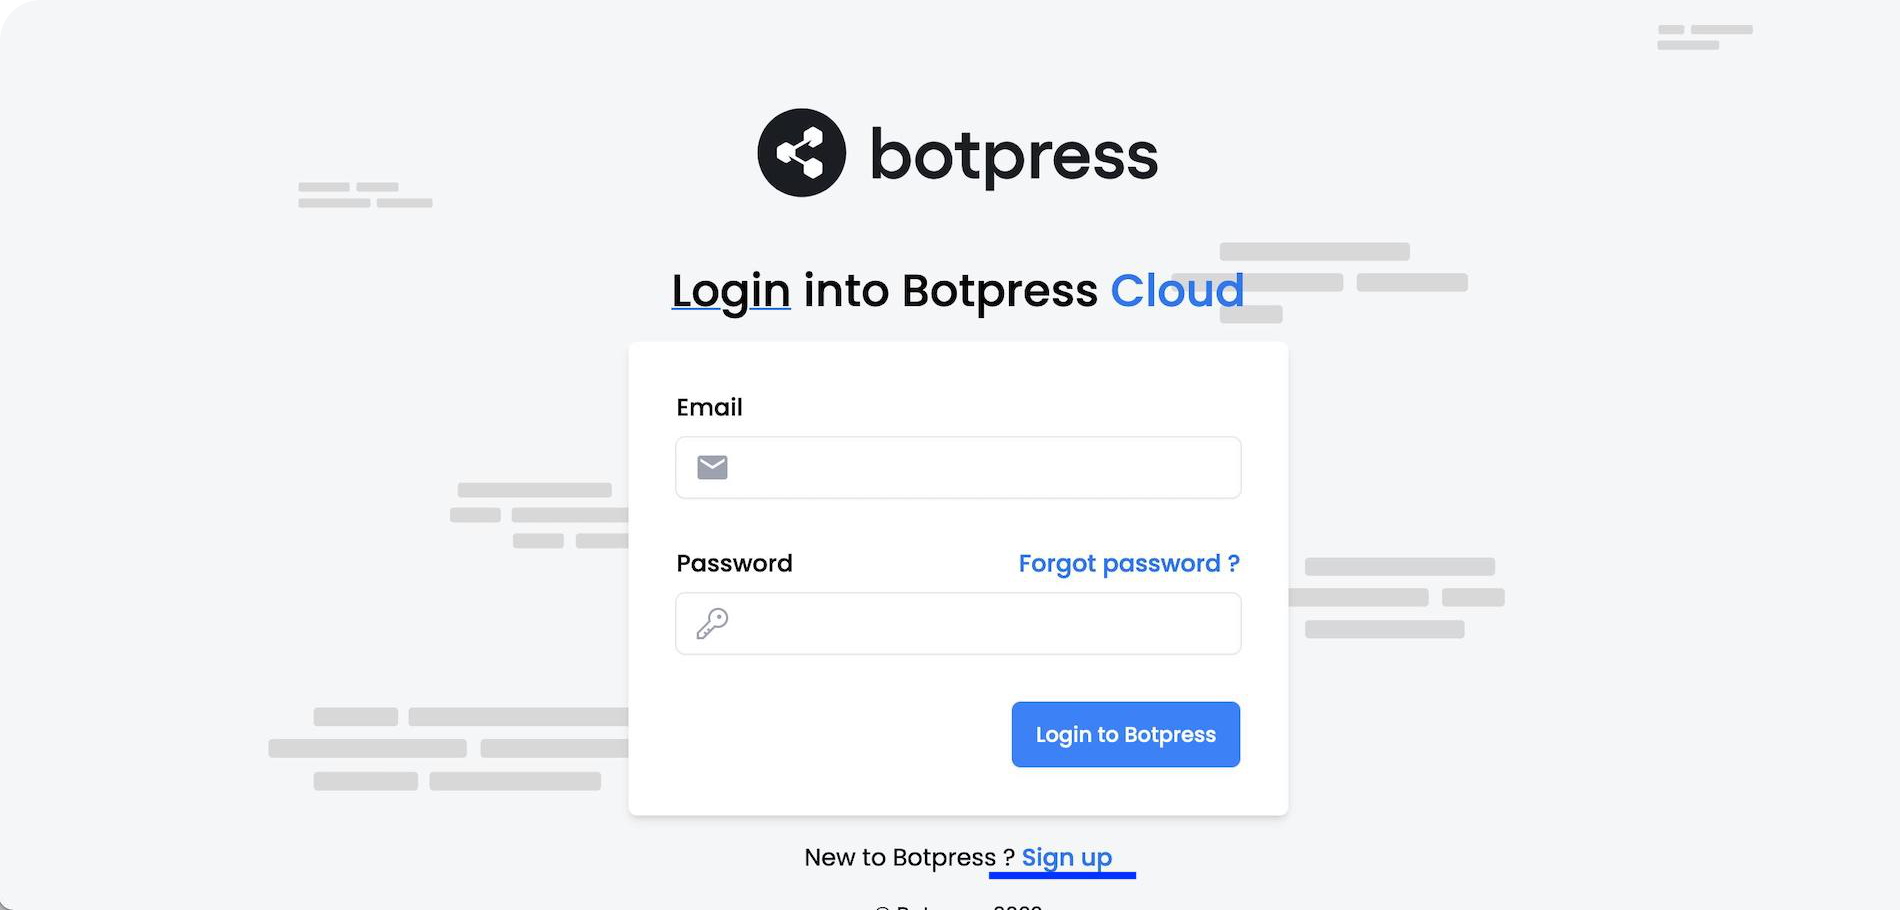
Go on the botpress cloud
Create an account > Click Sign Up
Confirm your account in your email.
Sign In with your account
info
Botpress Cloud Beta supports Telegram, Messenger, Slack, SunCo, Teams, Twilio, Vonage, and web chat.
Create a chatbot on the cloud platform
caution
In the following step, you will create a chatbot in the cloud and in the binary. We are doing this to link the application.
- Click on Select Chatbot > Create Chatbot
- Enter the chatbot name
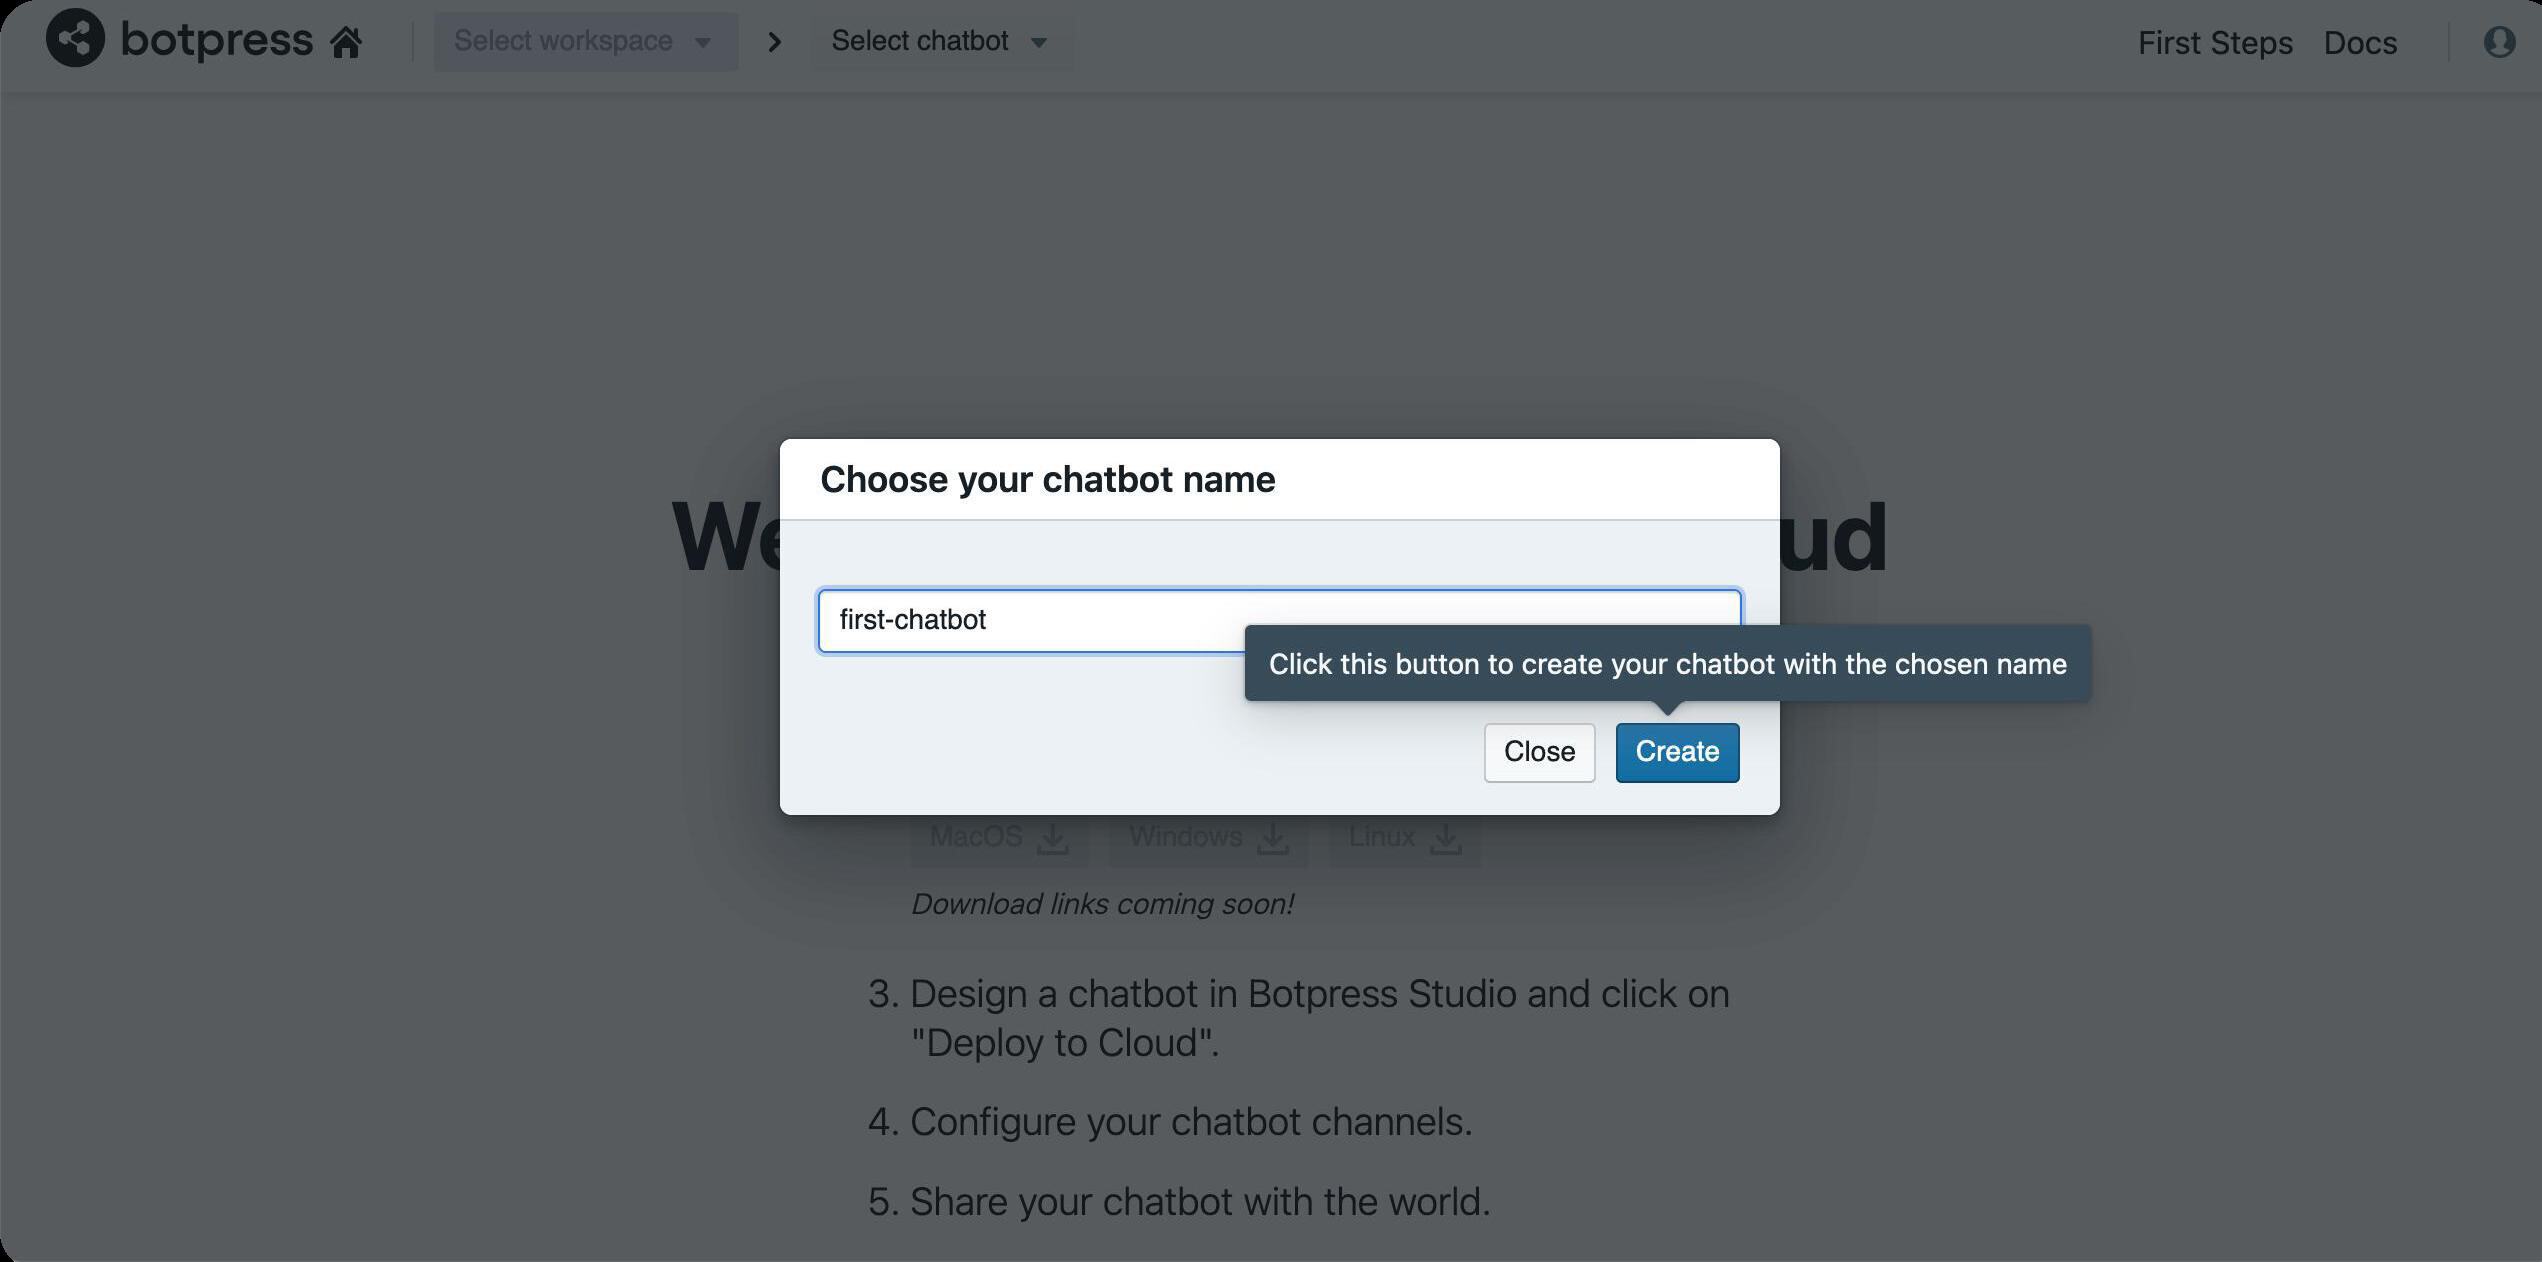
- Copy the key and the secret for the next step
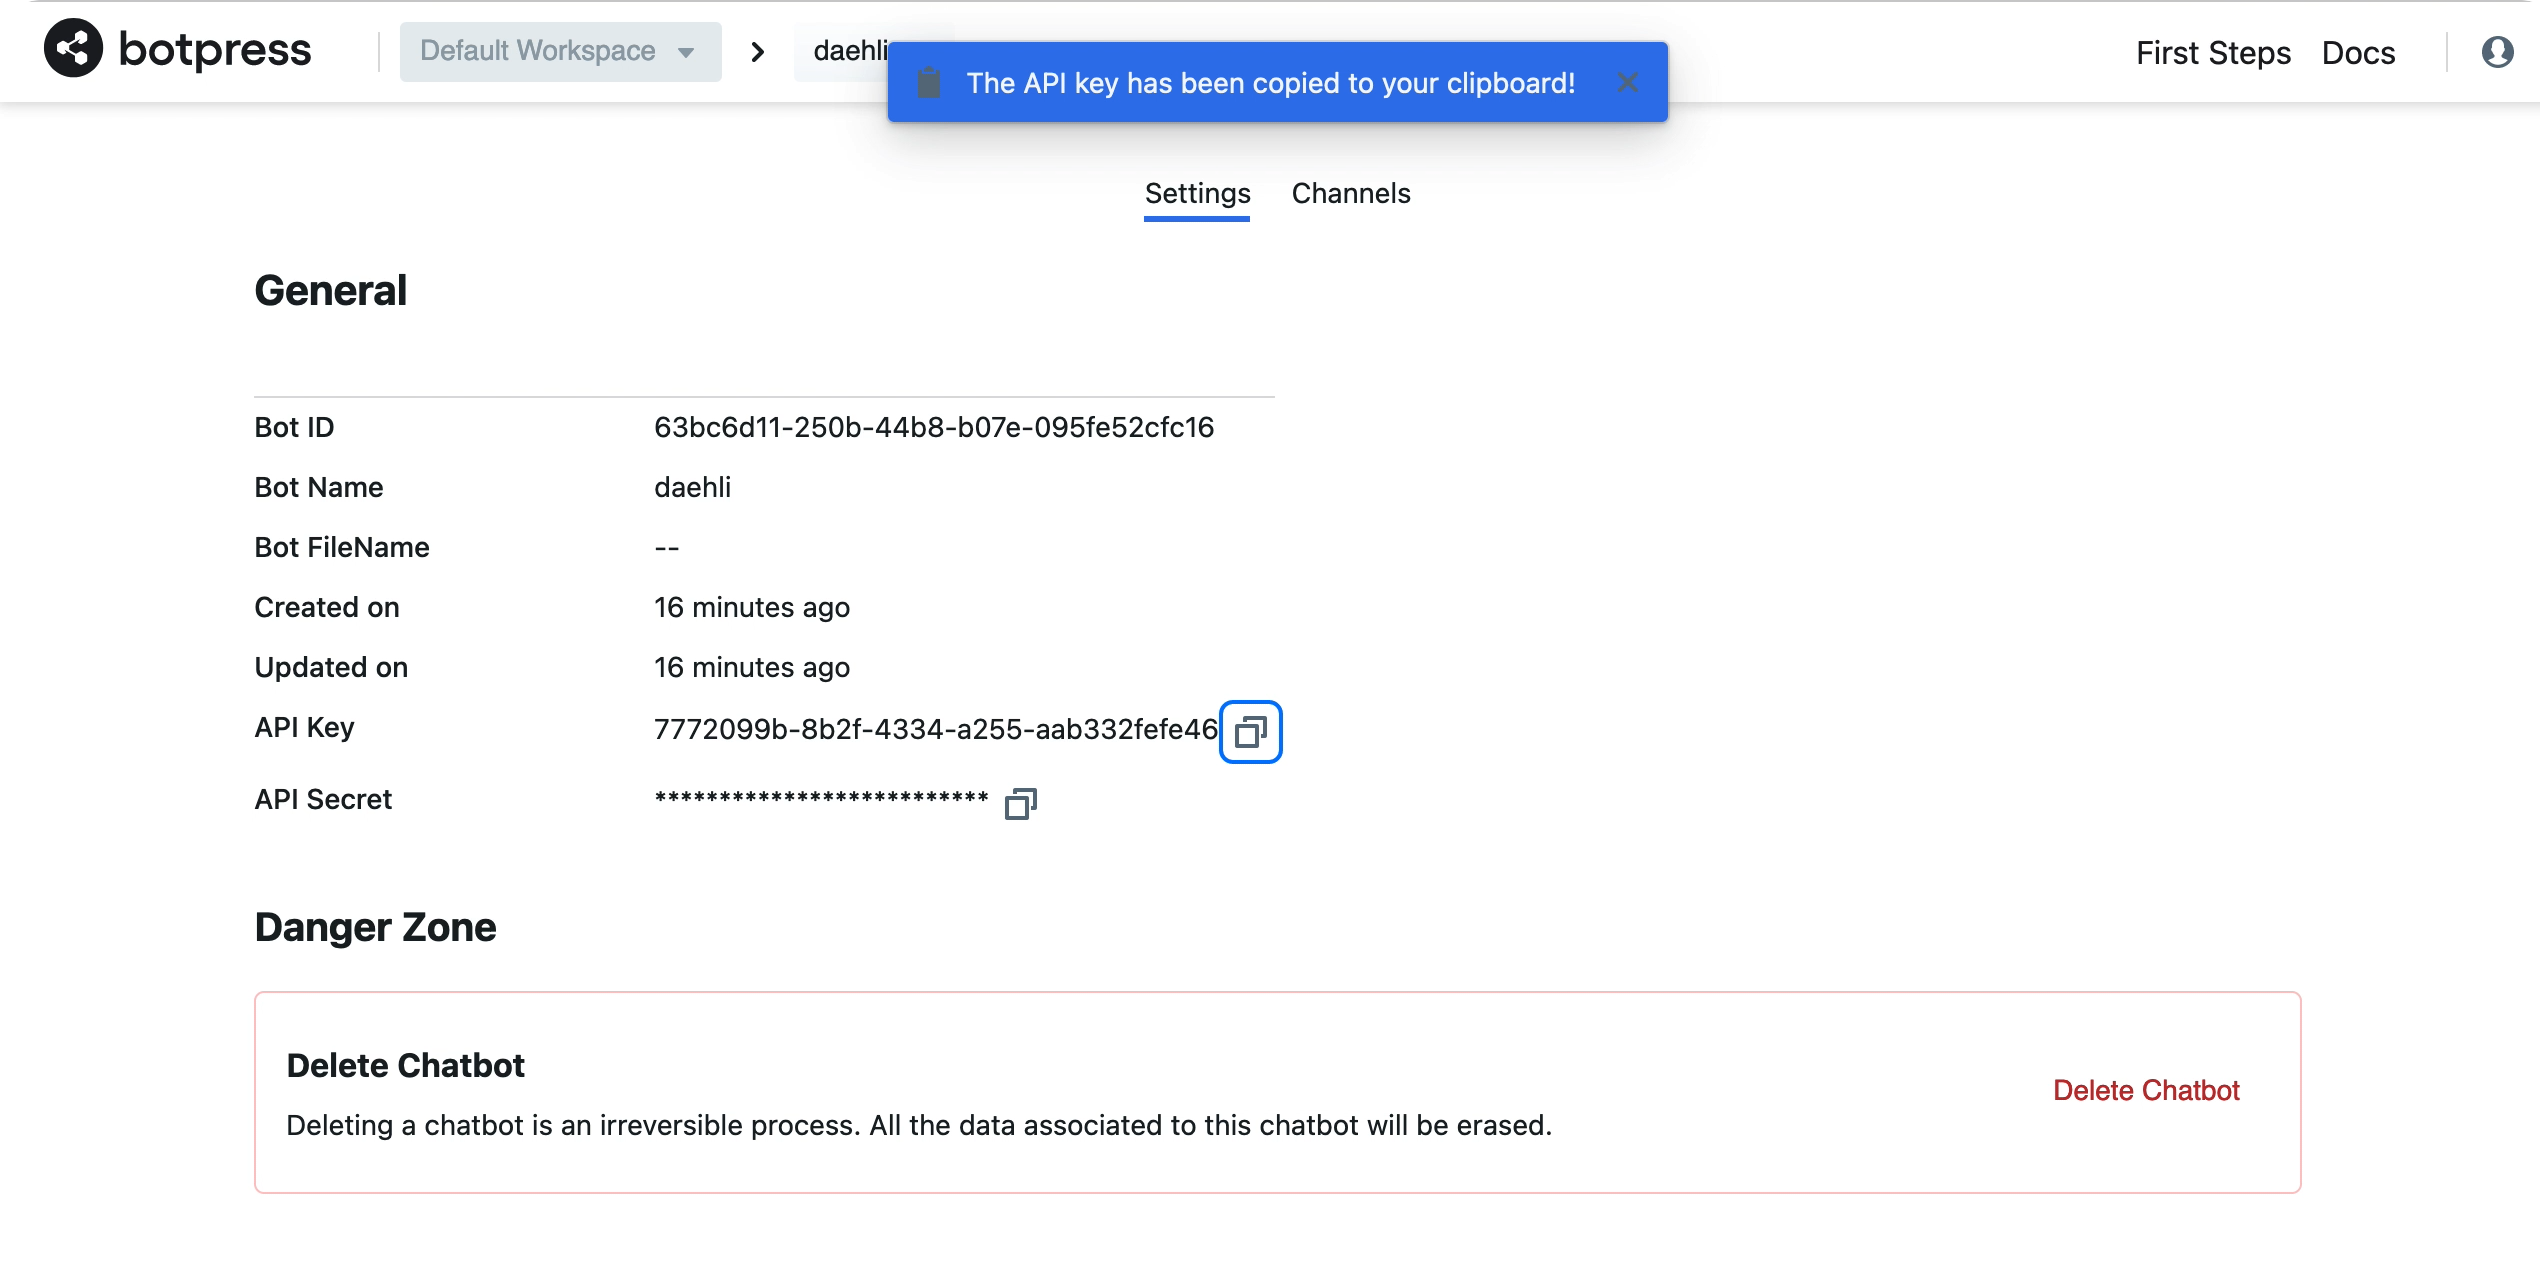
danger
Make sure to safely store the key and secret.
Download and install Botpress 12.27.0 Beta
- Go to Botpress 12.27.0 Beta Download
- Click the download button for your operating system
- On Linux: unzip the file, enter the folder and double click the bp file to start the script.
- On Linux: unzip the file, enter the folder and double click the bp file to start the script.
Create a Chatbot in the Downloaded Botpress app
- Open Botpress
- On Linux: open the unzipped folder and double click the bp file. Once the application is ready, you should get a message asking you to go to localhost:3000.
- On Mac and Windows: use your operating system to search for and open Botpress Beta.
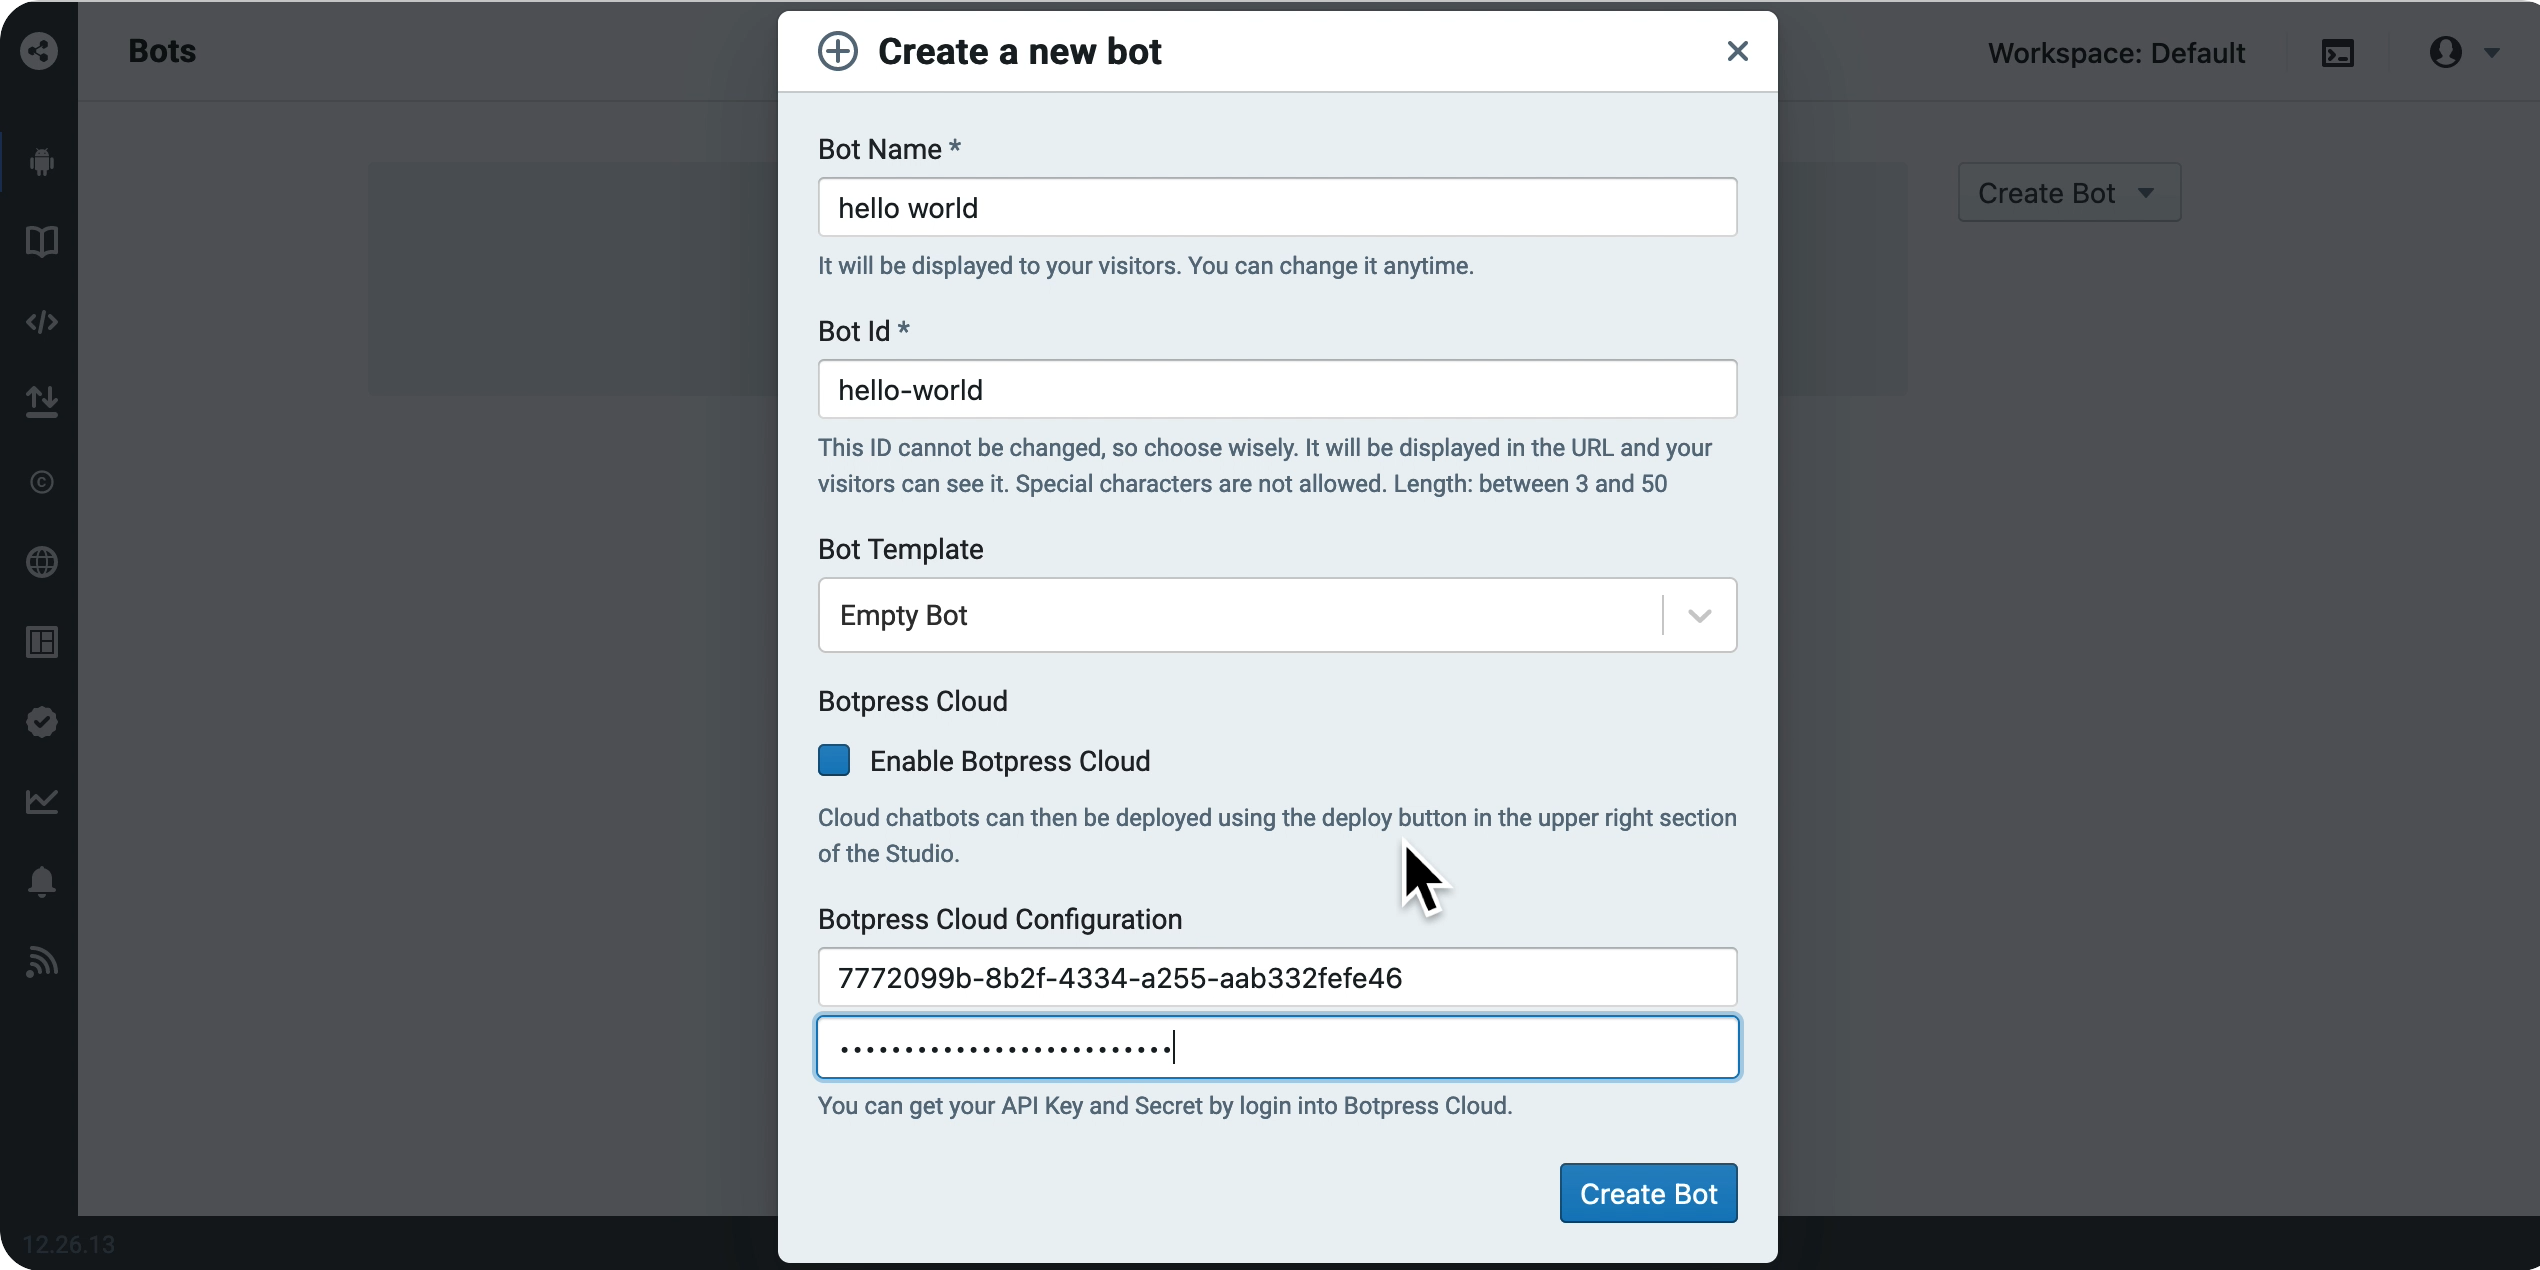
- In the Botpress Administration Panel, click ‘Create Bot’ then ‘New Bot’ to open the bot creation panel.
- Give your bot a name and ID and then select ‘Enable Botpress Cloud’.
- Select ‘Learn Botpress’ as the template. Optionally, you can try selecting the ‘Empty Bot’ (see extra information below).
- Enter your key and secret from the Botpress Cloud step.
- Click on the chatbot name you have created to open up the Botpress Studio.
- Train your chatbot
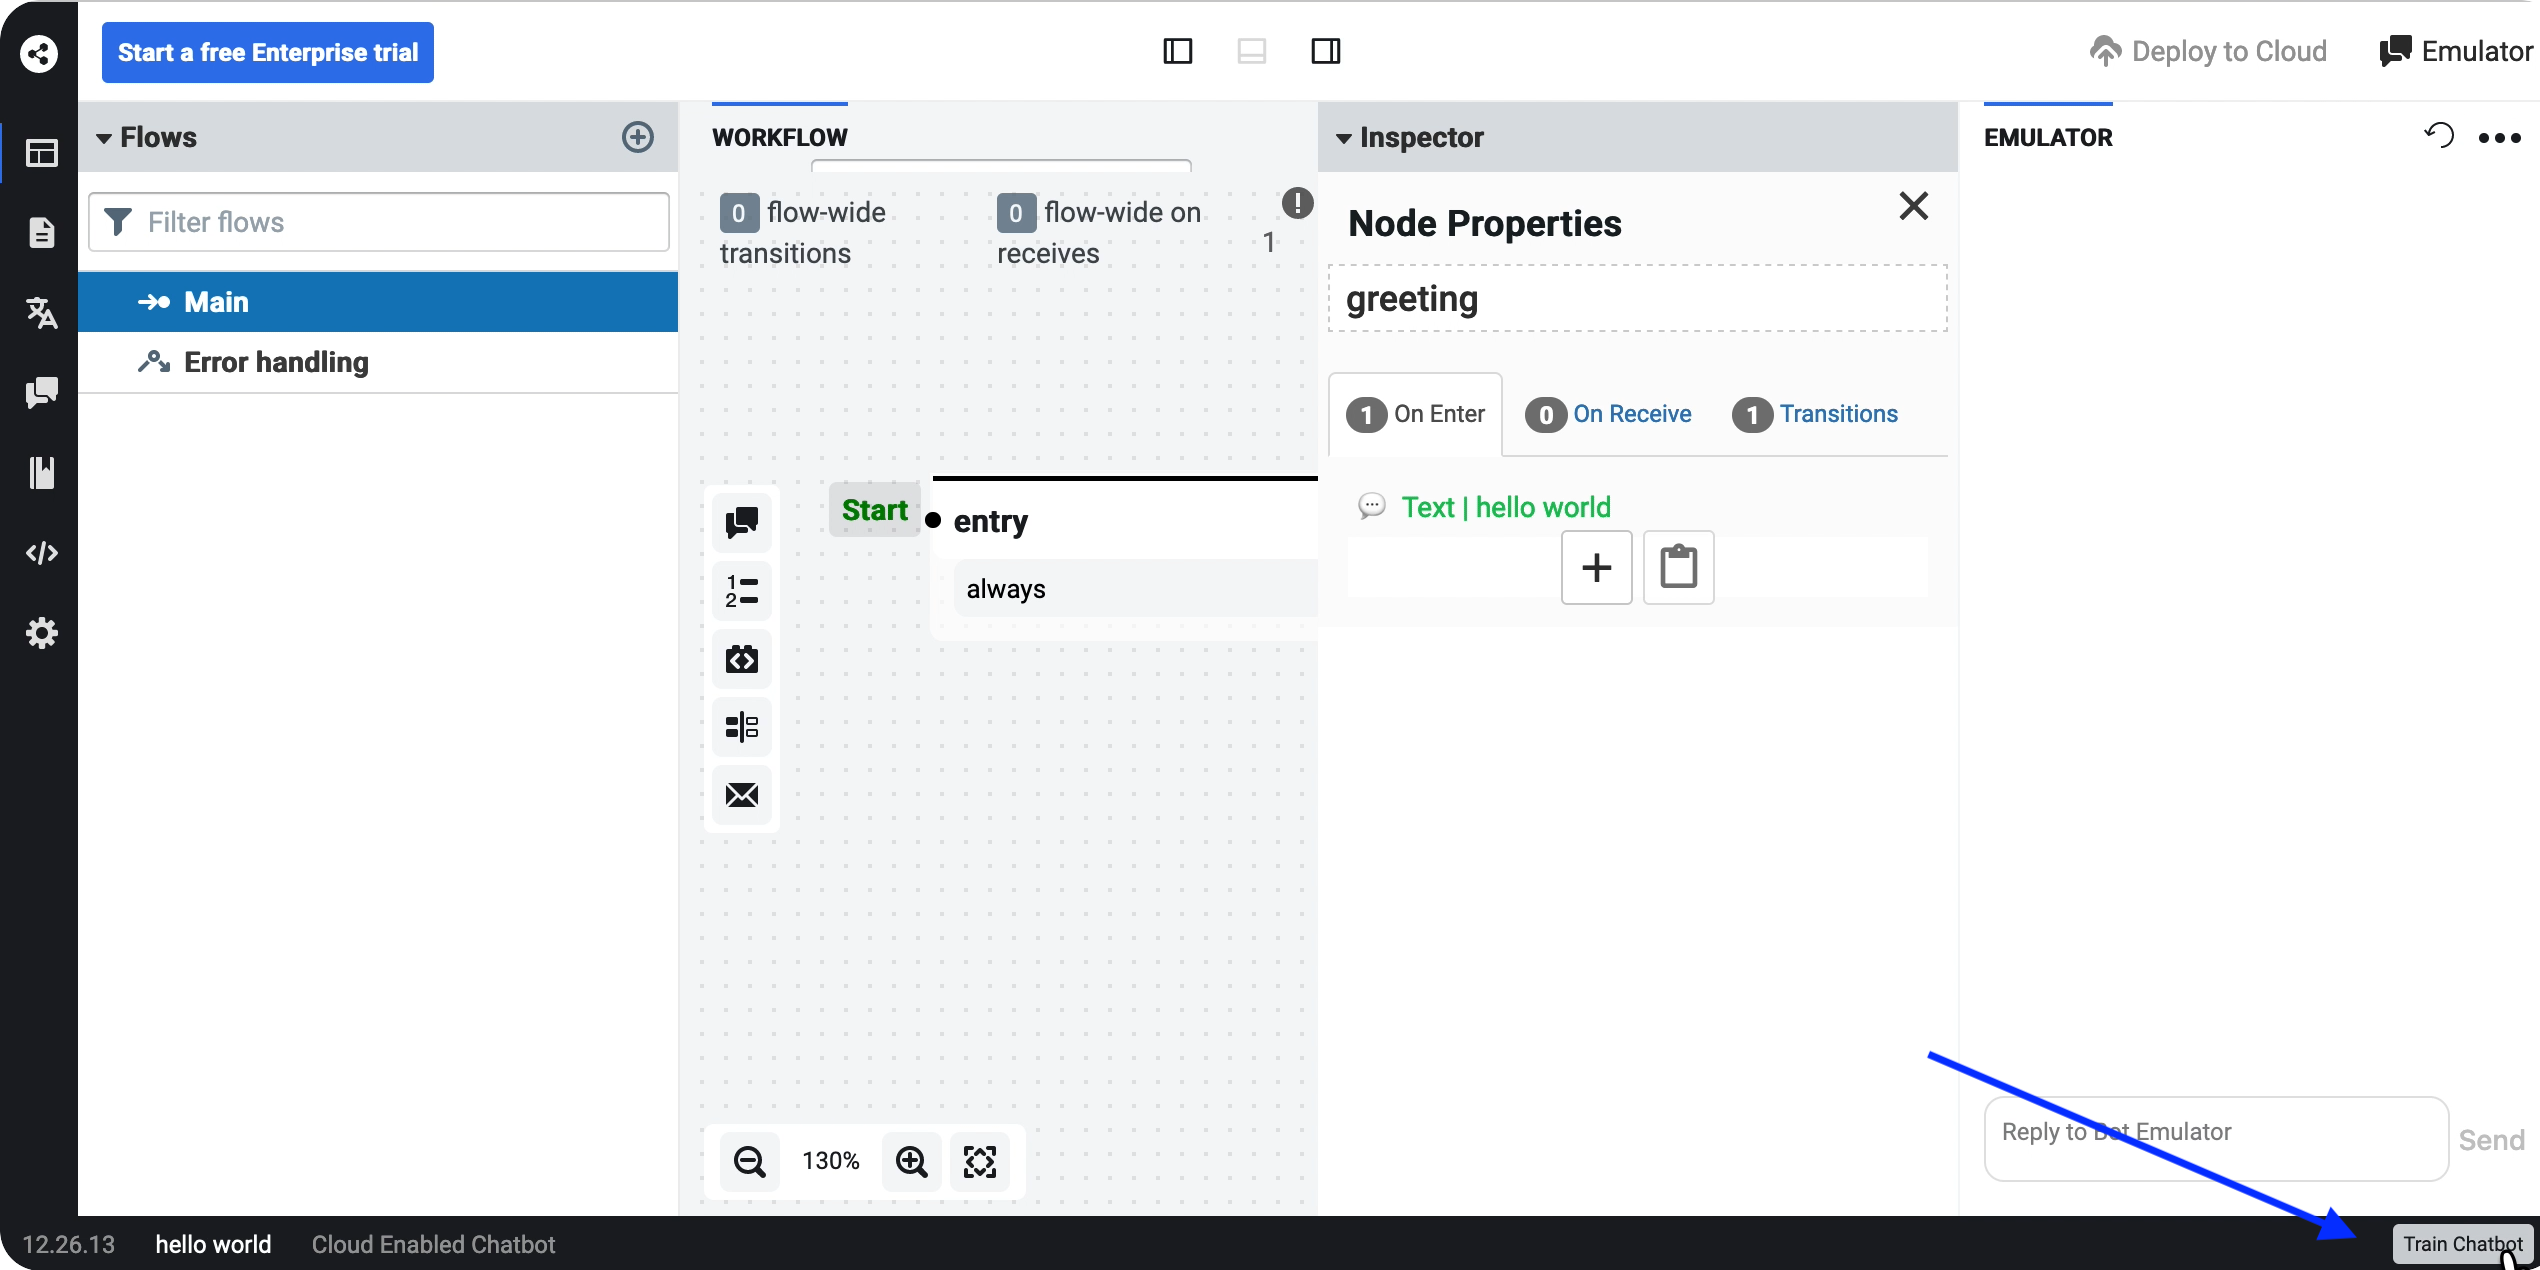
- Click on
Deploy to cloudat the top Right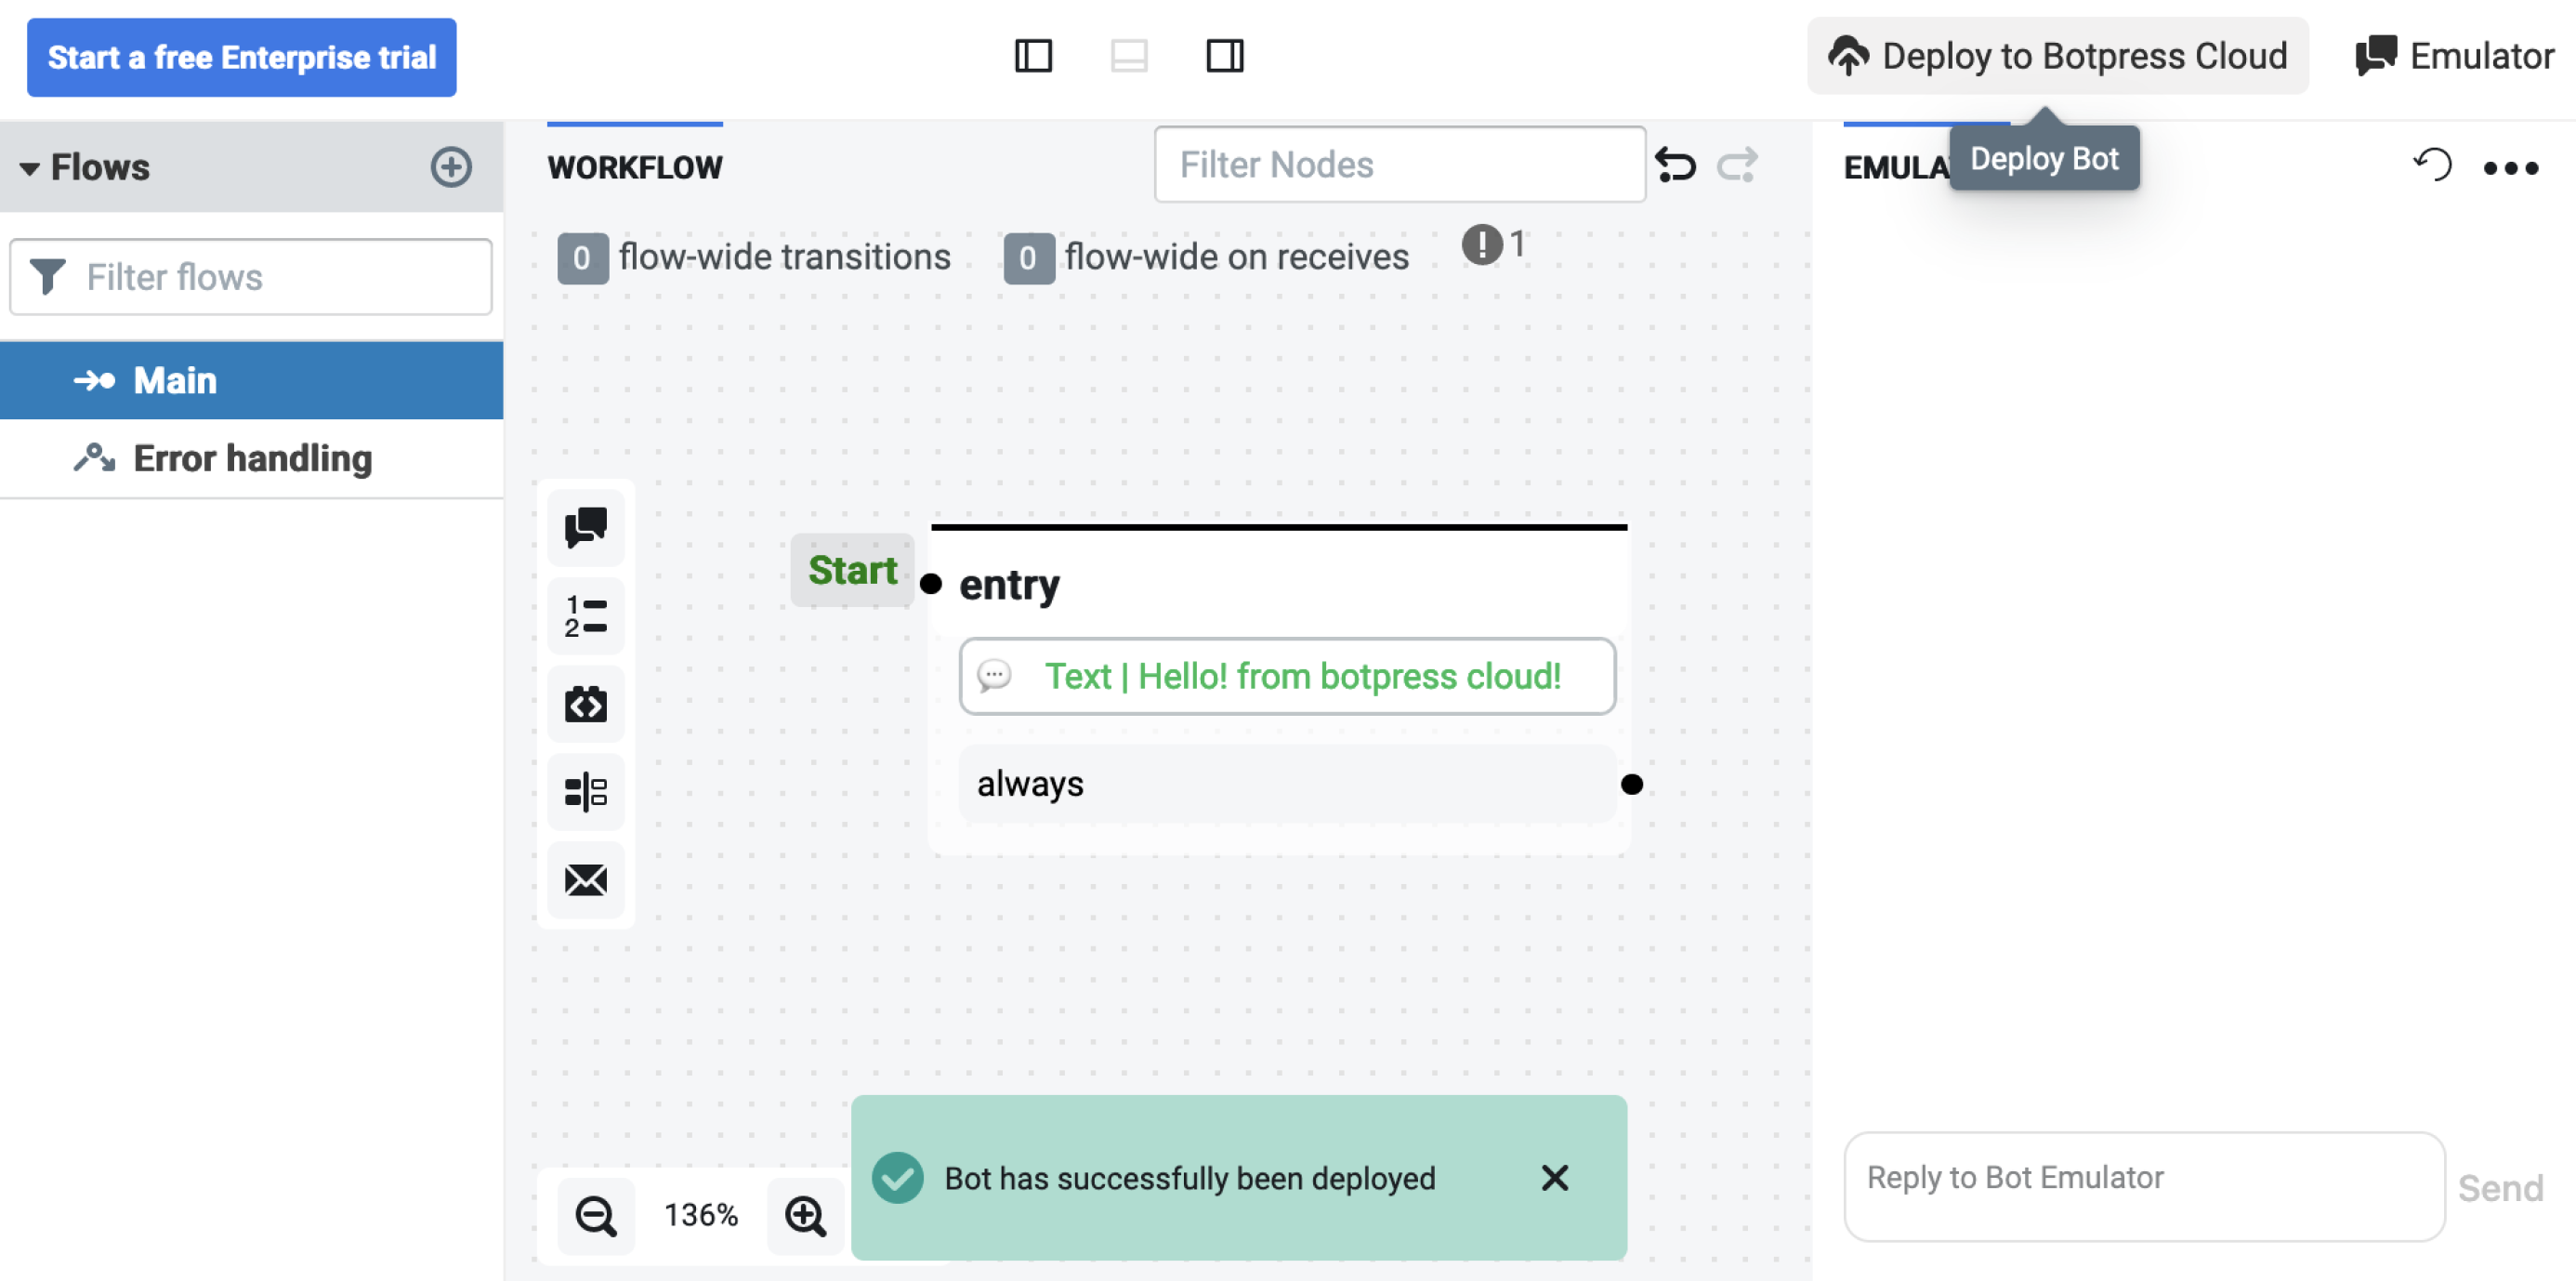
caution
Your chatbot must be trained in order to be deployed correctly.
In the cloud platform, set up a Telegram channel
- Open the botfather on telegram
- Start the conversation
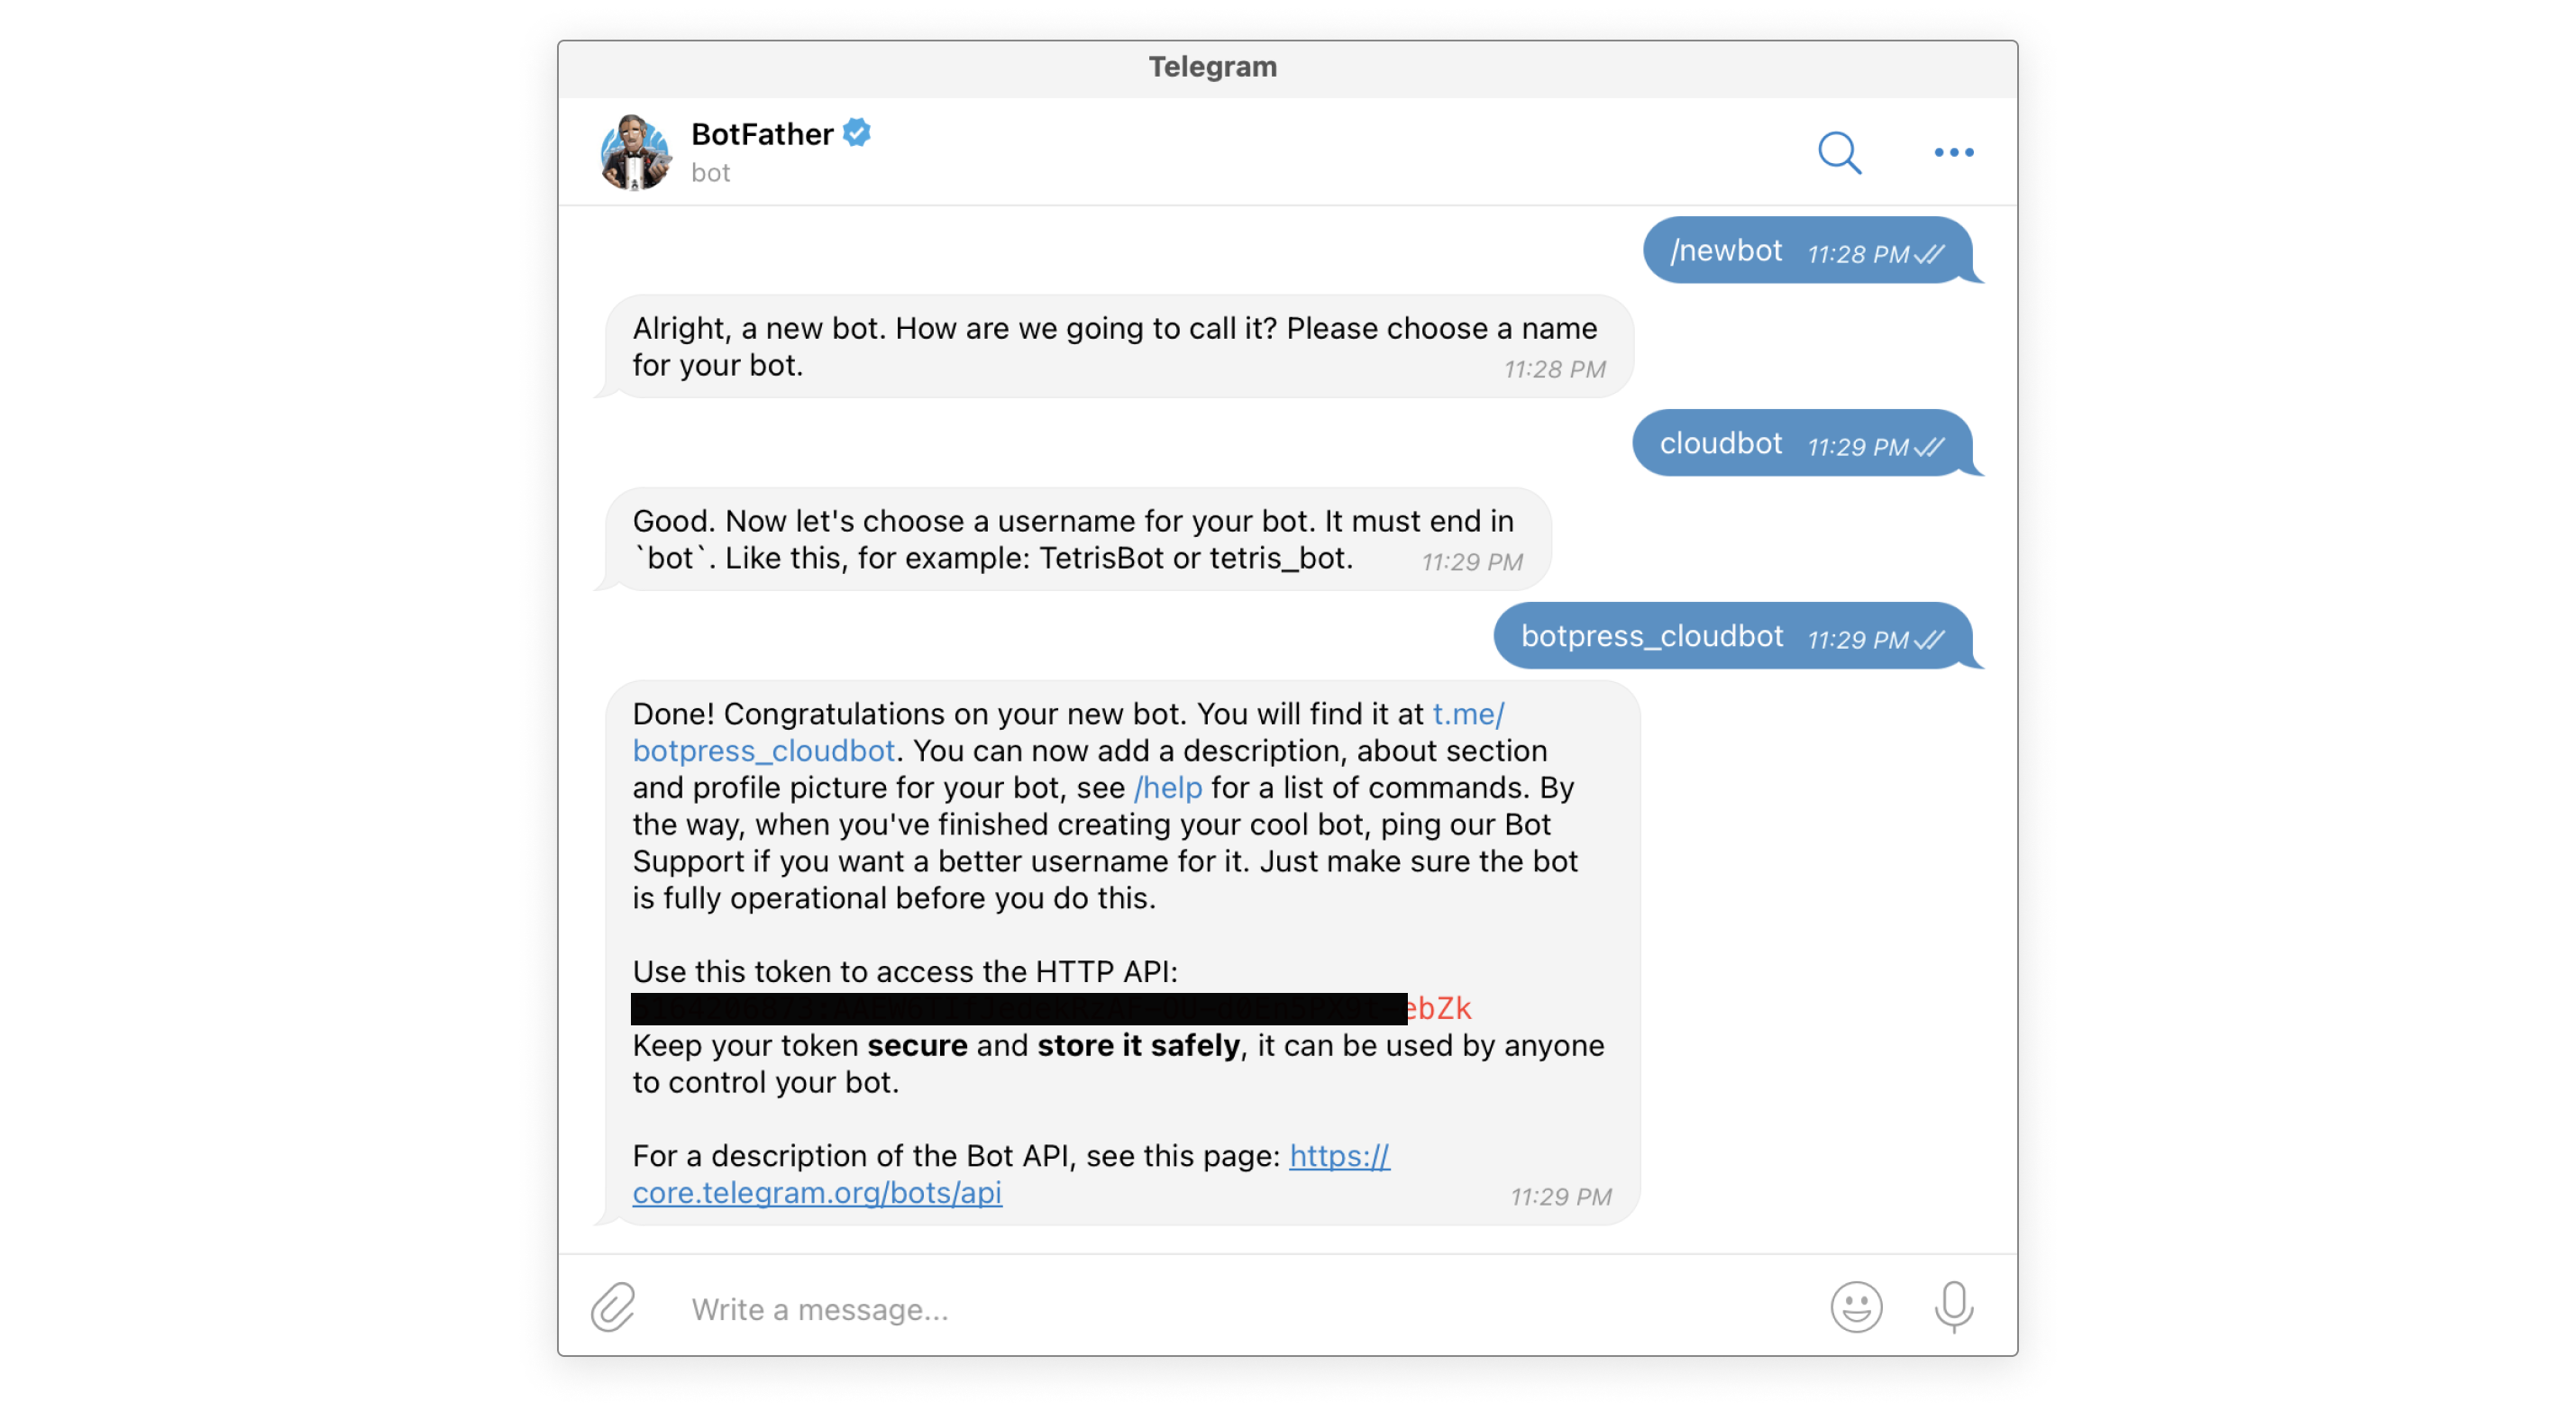
- Type
/newbotand follow the instruction.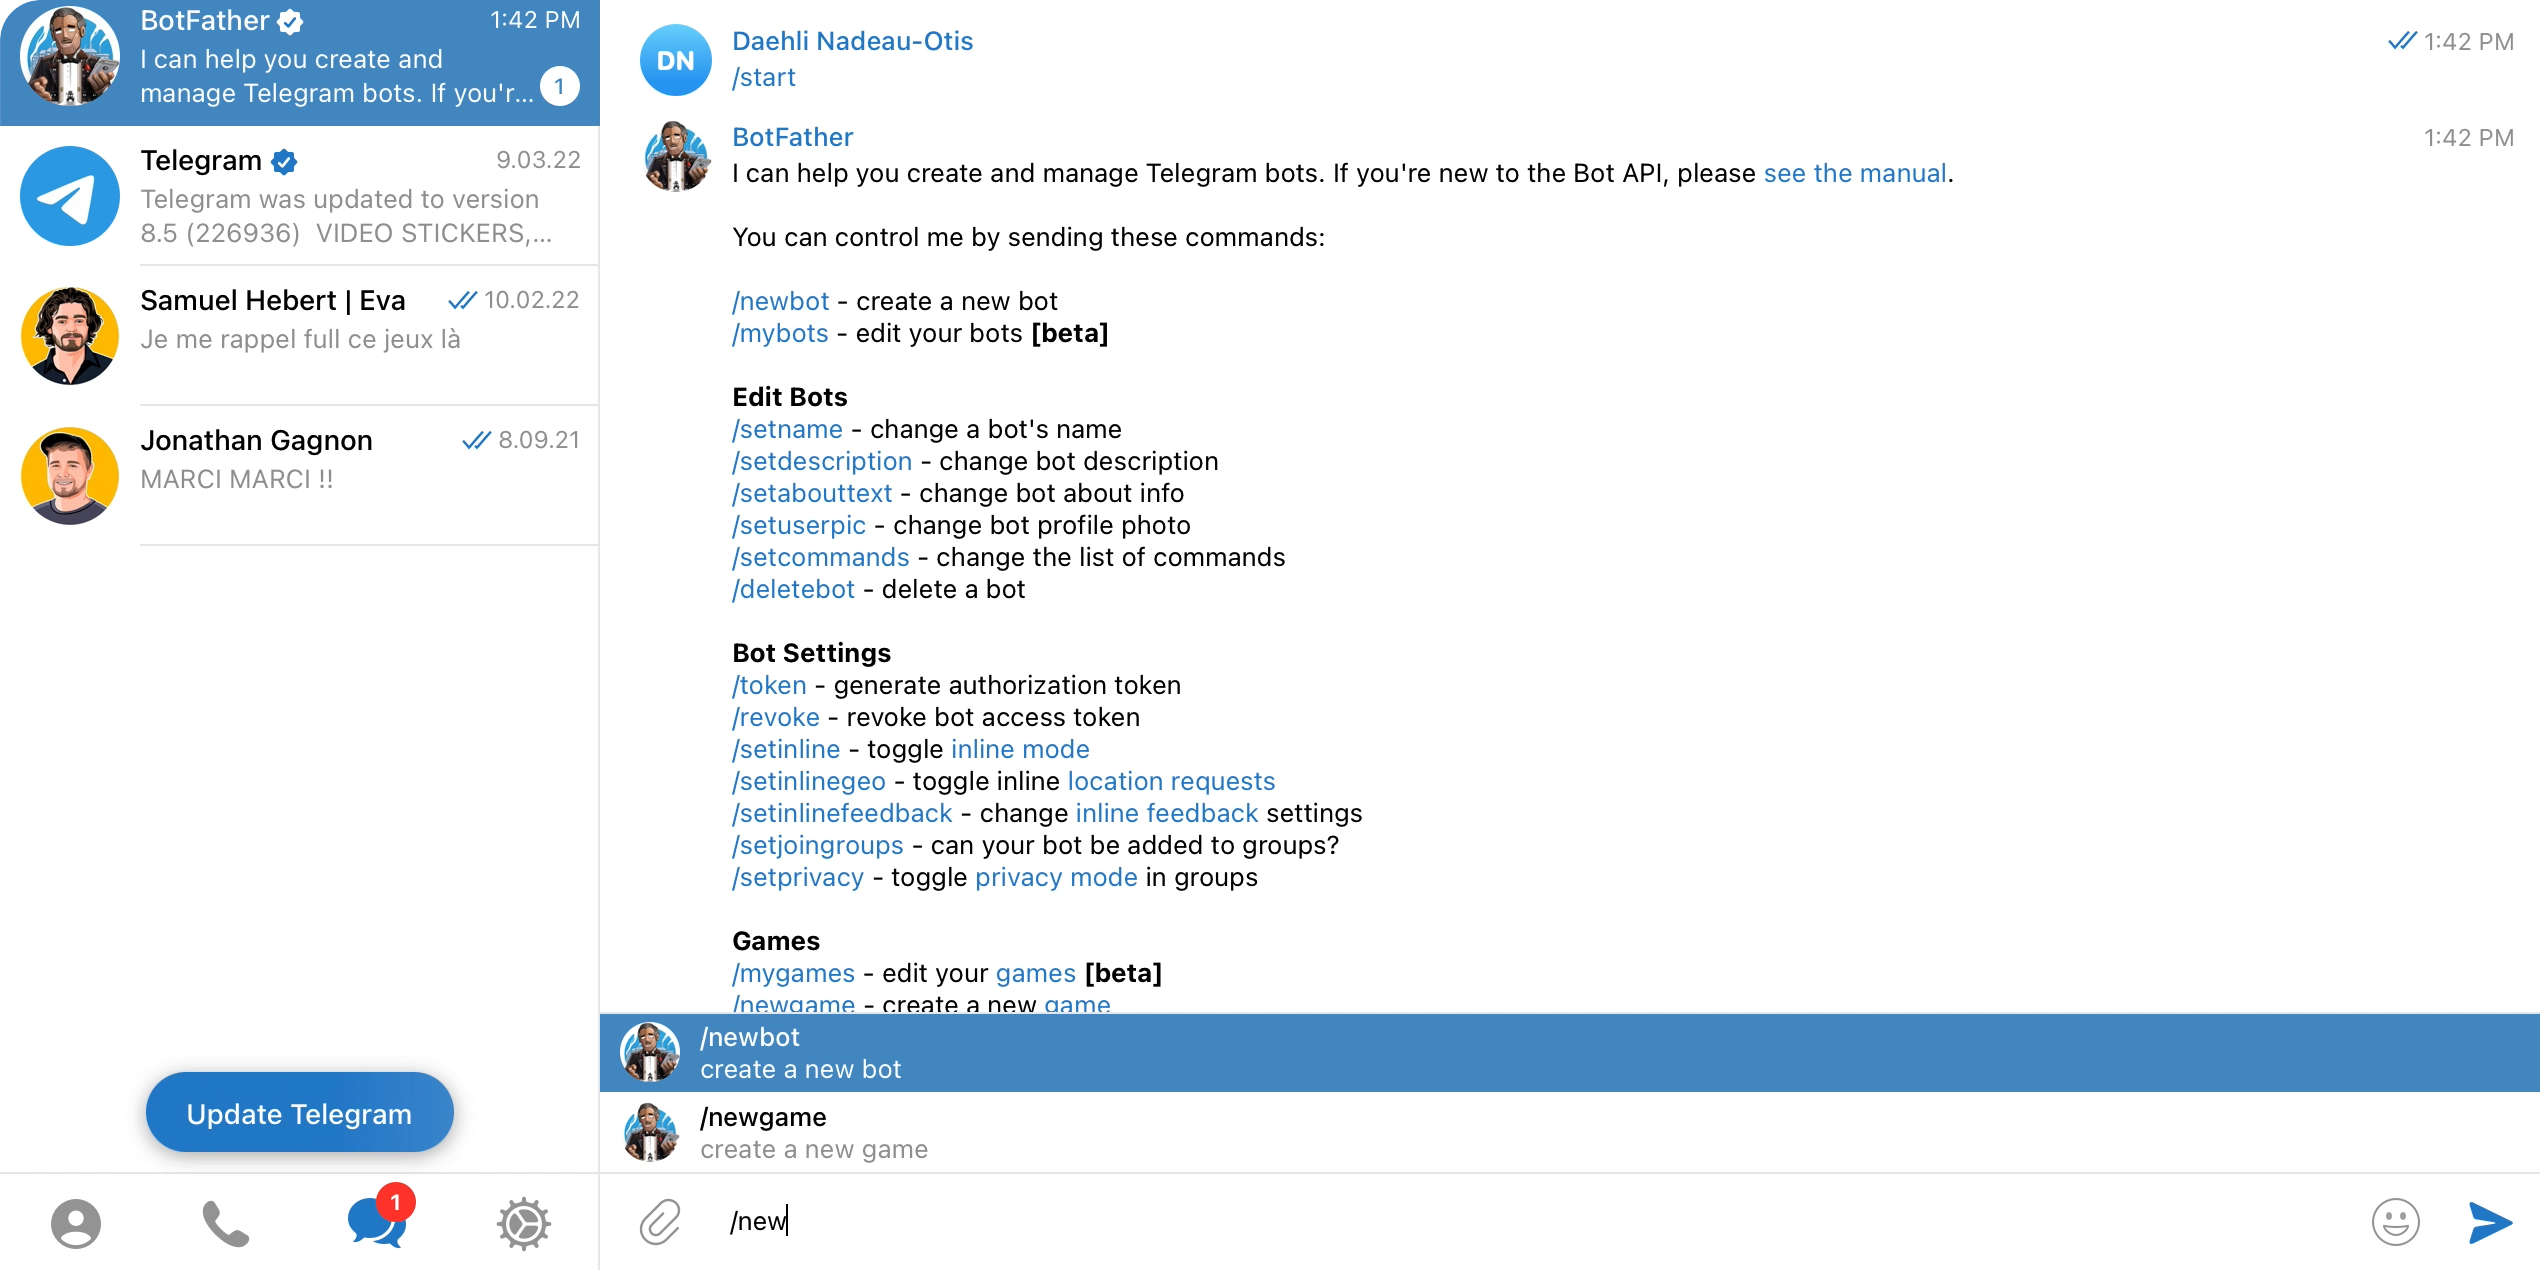
- Get the HTTP API token from the botfather.
info
You can click on the red text to copy the text into your clipboard
- Copy the keys, in the bot token
caution
The webhook part should be auto-populated. If it's not populated try Hard-refresh (SHIRT+(CTRL|COMMAND)+R) or restart from the Create chatbot cloud
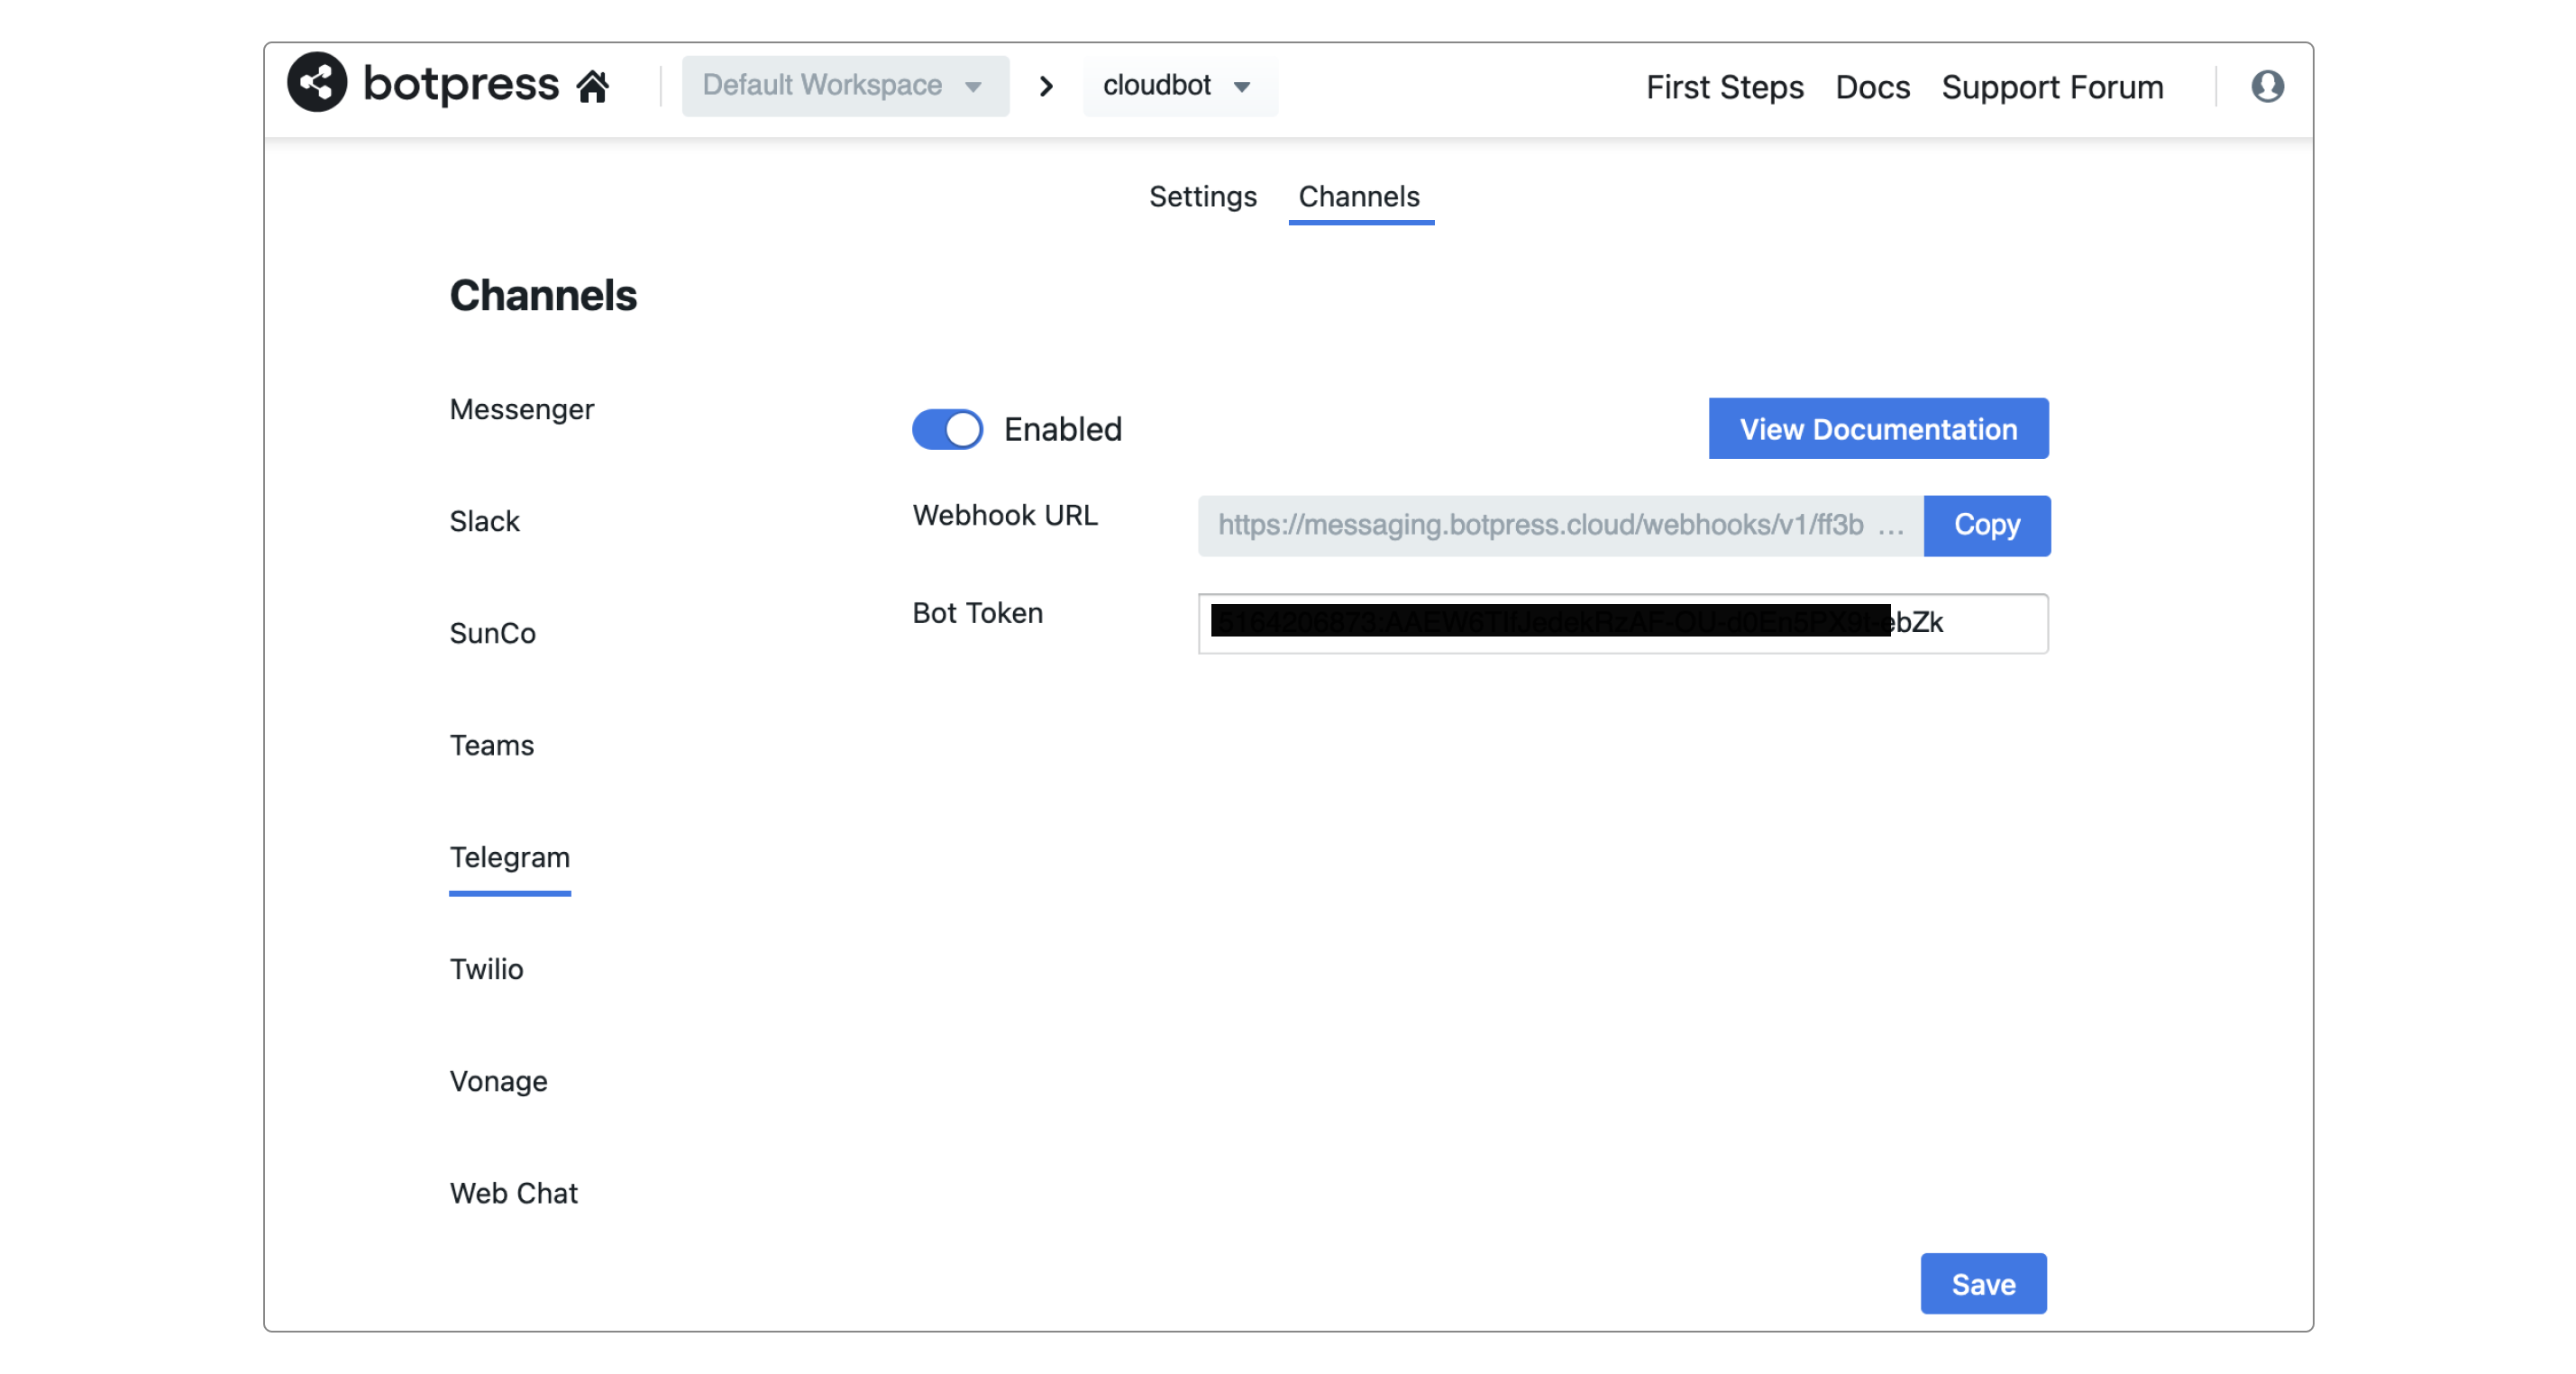
- Click
enabledbutton - Click on
Save
caution
When copying and pasting credentials, remember to remove trailing whitespaces (trailing whitespaces will cause the channel connection to fail).
Conclusion
In this lesson, we cover the basic on botpress (Creating a node, Deploying a chatbot, Use a chatbot on a channel). We are really happy to release the botpress cloud version.
If you are interested to learn more about botpress. You can ask question on the github discussion forum